Get Started
Installation
Select Halocode mode
We have set the default mode of mu to Halocode mode, and you can select halocode mode by clicking “mode” button on top left corner.
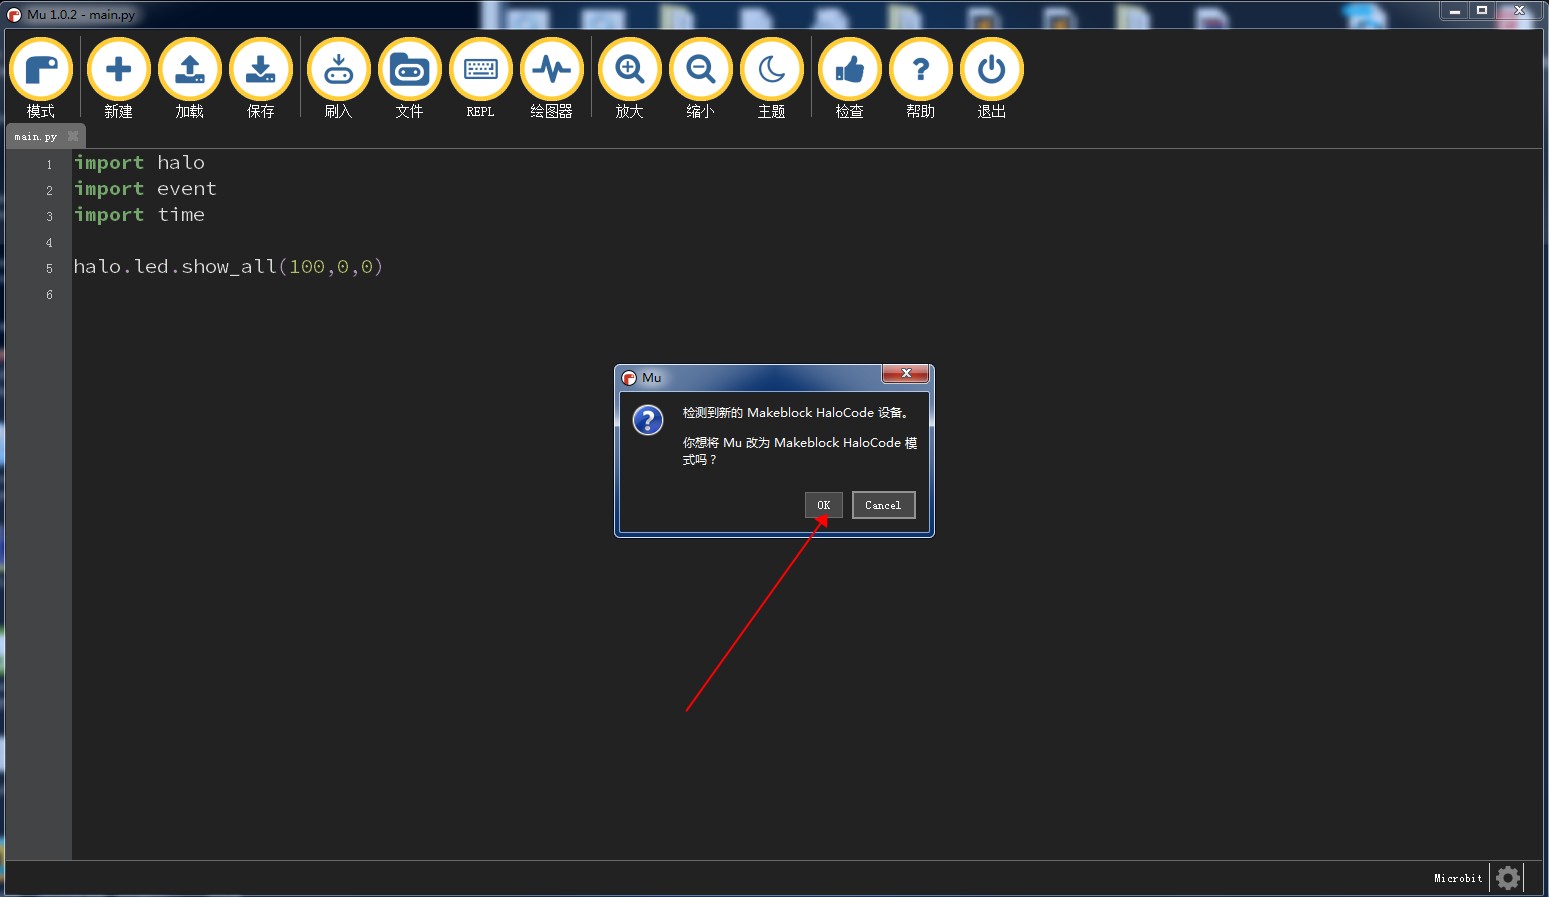
When your halocode is connected, then you will see the meesge the halocode is connected on lower left.
Upgrade firmware
This version of mu only works with halocode which is the version 25.01.004, so if the version of your halocode is old, then you should
- upgrade your halocode, you can get the firmware here 25.01.004.
Then you need click the “firmware upgrade” button to select the firmware that you have just download.
You will see the progress of upgrading on lower left.
Congratulation, you can then control your halocode using mu.
Features
- Repl
- Script uploading
- firmware upgrading
- Plotter
- Code completion
Repl
Repl in Halocode is strengthened: 1. You can use Repl with uart and ble channel(need bluetooth dongle) #. Repl is enabled even when you are uploading a file
See more
Upload script
The other way to control your halocode is to upload the script.
Firstly, you should add a new file by clicking the “new” button.
Then, add your script in this file, for example, if you want set all the led to red color, you can write:
import halo
halo.led.show_all("red")
Click the “upload” button to upload your script to your halocode.
See more
Plotter
Plotter is a basic function on mu, but we add a special function for halocode, that is
- ::
- halo.print_plotter(value)
With this function, plotter is easier to use, for example, we can plot the sound sensor curve by upload the script
import halo
import time

while True:
    halo.print_plotter(halo.microphone.get_loudness())
    time.sleep(0.05)